Contact Info
303 N Stadium Blvd 2nd Floor, Columbia, MO, 65203
Phone: (573) 723-4754
Email: graberoutdoors@gmail.com
Follow Us


Deck Staining Mistakes to Avoid for a Flawless Look
We believe that
deck staining is an art that combines functionality and beauty, turning your outdoor space into a standout feature of your home. However, even small mistakes during the
deck staining process can lead to costly repairs and less-than-ideal results. With the right approach and knowledge, you can avoid these pitfalls and achieve a flawless finish. In this guide, we’ll share key insights and practical tips to help you avoid common deck stain mistakes and make your deck the pride of your backyard.
Preparing Your Deck for Staining
Proper preparation is the foundation of a successful deck staining project. Skipping or rushing through this step often leads to uneven finishes and poor stain absorption.
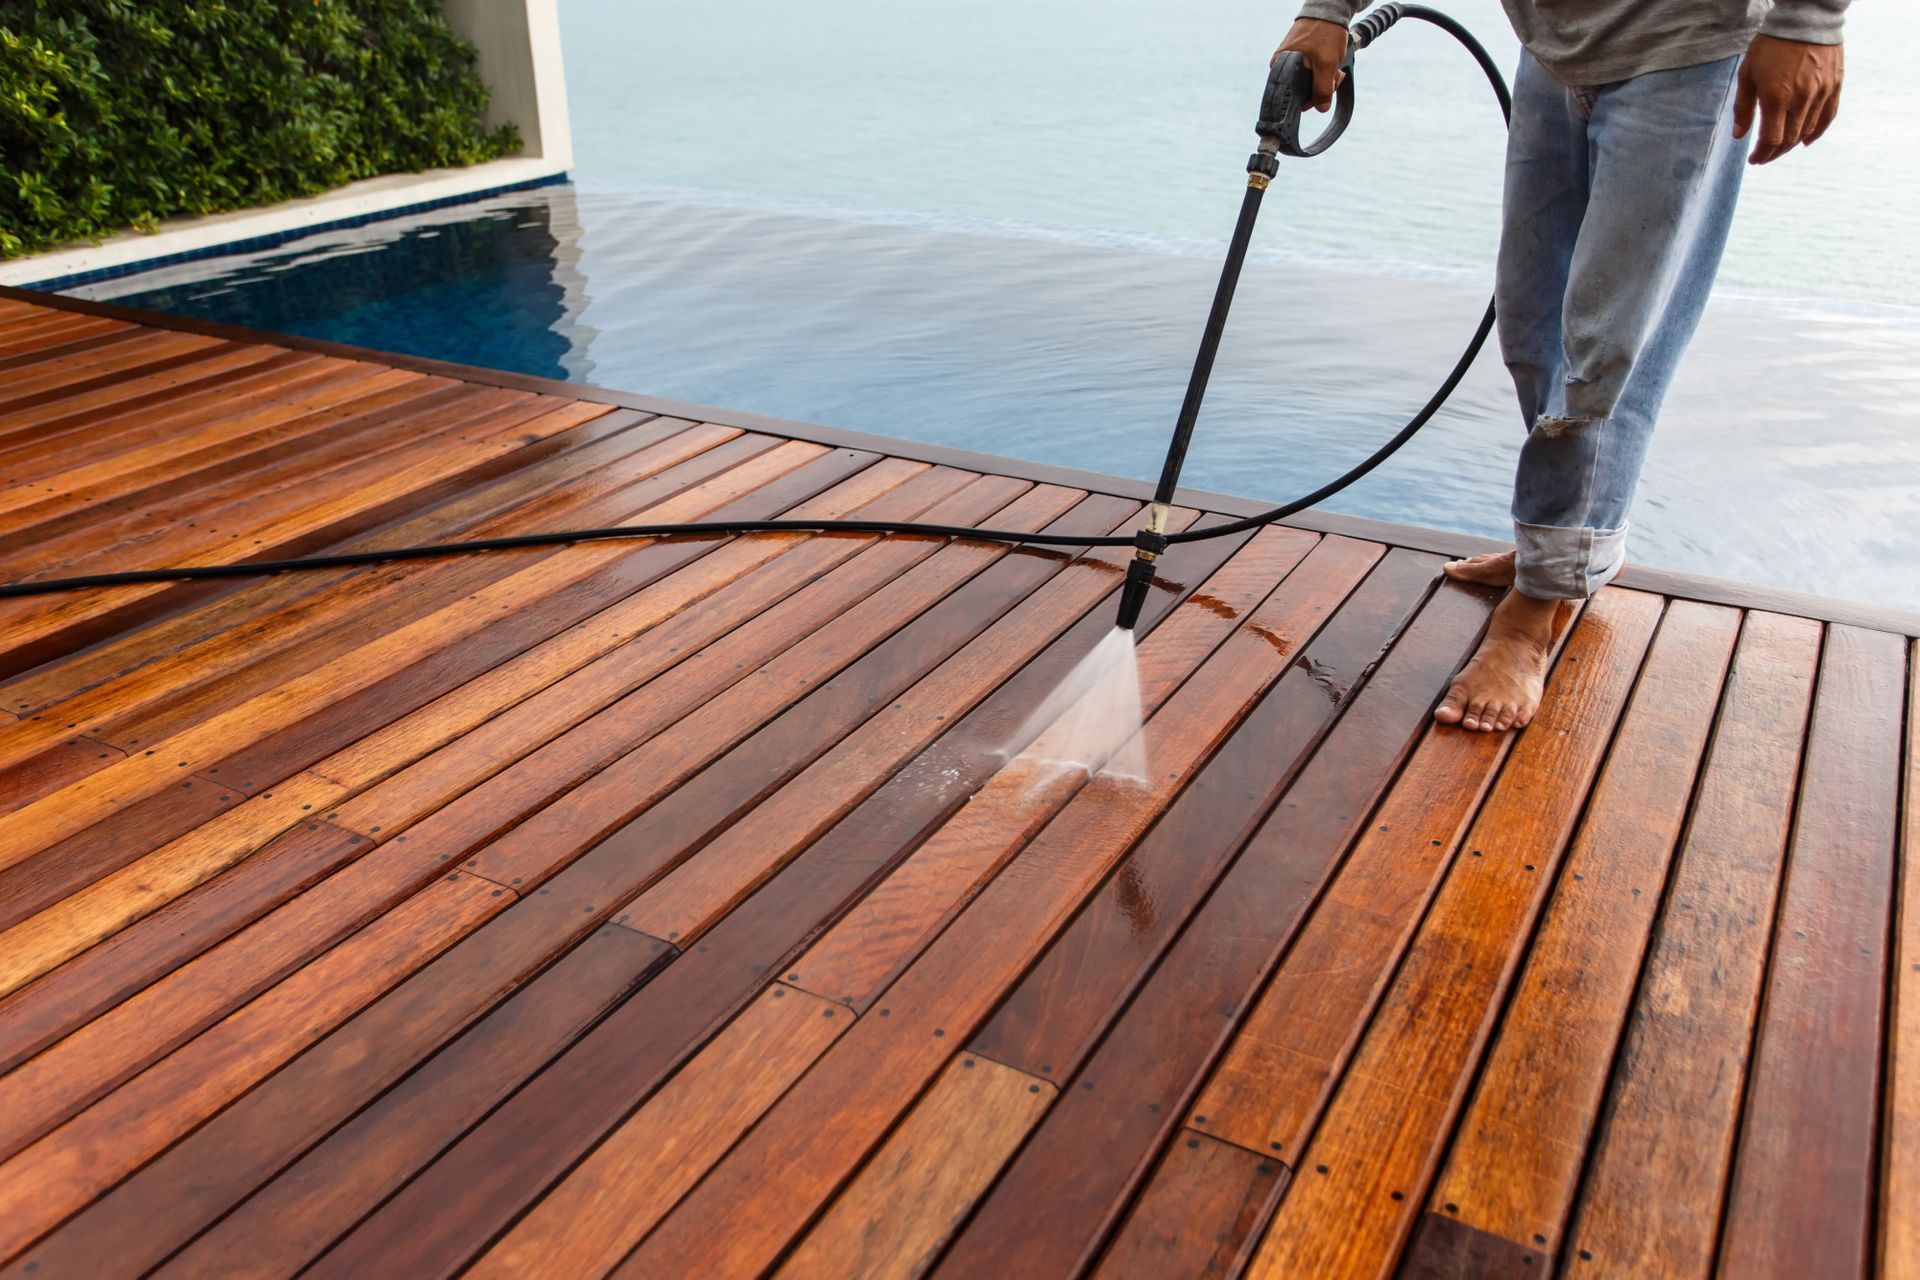
Mistake #1: Ignoring Surface Cleaning
A dirty deck is the biggest obstacle to smooth staining. Dust, mildew, and old stain residues prevent the new stain from adhering properly. Before staining, we recommend a thorough cleaning using a deck cleaner or a pressure washer. Ensure the wood dries completely before moving on to staining.
Mistake #2: Forgetting to Sand the Surface
If your deck has rough patches, splinters, or peeling stain, sanding is non-negotiable. Sanding smoothens the surface and opens up the wood grain, allowing the stain to penetrate evenly. A fine-grit sandpaper (80–120 grit) works best for this step.
Choosing the Right Stain
Selecting the right stain can make or break your project. Different stains offer varying levels of protection and aesthetic appeal, so it’s essential to understand their differences.
Mistake #3: Using the Wrong Type of Stain
Not all stains are suitable for every deck. Transparent stains enhance the natural grain but provide less protection, while solid stains offer maximum durability but hide the wood's natural look. Consider your deck’s exposure to sunlight, moisture, and foot traffic before choosing.
Mistake #4: Skipping a Test Patch
Diving straight into staining without testing the product on a small, inconspicuous area can lead to surprises. Always test the stain to ensure you’re happy with the color and finish before applying it to the entire deck.
Timing and Weather Considerations
External conditions play a critical role in deck staining success. Weather can significantly impact how well the stain adheres and dries.
Mistake #5: Staining in Direct Sunlight
Staining your deck in direct sunlight may cause the stain to dry too quickly, resulting in a patchy finish. Choose a cloudy day or work during cooler parts of the day to allow the stain to absorb evenly into the wood.
Mistake #6: Ignoring the Weather Forecast
Always check the forecast before staining. Rain or high humidity within 48 hours of application can wash away the stain or delay drying. Ideal staining conditions include moderate temperatures and dry weather for at least 2–3 days.
Applying the Stain Correctly
Proper application techniques are crucial to achieving a professional-looking finish.
Mistake #7: Overloading Your Brush or Roller
Applying too much stain at once creates puddles and leads to uneven drying. Instead, use a brush or roller to apply thin, even coats. Two thin coats are better than one heavy application.
Mistake #8: Not Following the Grain
When staining, always follow the natural grain of the wood. This technique ensures better absorption and a more cohesive appearance.
Post-Application Care
After staining, taking the right steps ensures your deck remains beautiful for years to come
Mistake #9: Walking on the Deck Too Soon
Stains need adequate time to cure. Walking on the deck too soon can leave marks and ruin the finish. We recommend waiting at least 24–48 hours before using the deck.
Mistake #10: Neglecting Regular Maintenance
Staining isn’t a one-time task. To keep your deck looking flawless, clean it regularly and reapply the stain every 2–3 years. Maintenance prevents discoloration and prolongs the wood’s lifespan.
Why Choose Professional Deck Staining?
While DIY staining can be a rewarding project, it’s not without its challenges. Mistakes can be costly and time-consuming to fix. At Graber Outdoors, we specialize in professional deck staining services that save you time and guarantee stunning results.
When you choose us, you can expect:
- Expert preparation and application techniques
- High-quality stains tailored to your deck’s needs
- Attention to detail for a flawless finish
- Long-lasting results that enhance your deck’s beauty and durability
Transform Your Deck with Graber Outdoors
Don’t let common deck staining mistakes hold you back from enjoying a beautiful, long-lasting deck. With the right preparation, stain selection, and application techniques, you can achieve a professional look on your own. However, if you’d rather leave it to the experts, we’re here to help.
Contact Graber Outdoors today at (573)-227-6488 to schedule your consultation. Together, we’ll make your outdoor space a place you’ll love for years to come.
Frequently Asked Questions
1. What are the most common deck stain mistakes to avoid?
Some of the most common deck stain mistakes include failing to clean the deck properly before staining, using the wrong type of stain, staining in direct sunlight, and applying too much stain at once. These errors can lead to uneven finishes, poor stain adhesion, and a shorter lifespan for your deck. Proper preparation and the right application techniques are essential to avoid these pitfalls.
2. Why is preparation important for deck staining?
Preparation is crucial for successful deck staining because it ensures the stain adheres properly to the wood. Cleaning, sanding, and removing old stains or dirt allow the wood to absorb the new stain evenly. Skipping these steps often results in blotchy finishes or peeling stain.
3. How to stain a deck for a flawless finish?
To achieve a flawless finish, follow these steps:
- Clean the deck thoroughly to remove dirt and old stain residue.
- Sand the surface to smooth out imperfections and open up the wood grain.
- Choose the appropriate stain for your deck’s needs and test it on a small area.
- Apply thin, even coats with a brush or roller, following the wood grain.
- Let the stain dry completely before using the deck.
By avoiding common deck staining errors, you can ensure a beautiful and durable result.
4. How does weather impact deck staining?
Weather plays a significant role in how to stain a deck successfully. Ideal conditions include moderate temperatures, low humidity, and no rain for at least 48 hours after application. Avoid staining in direct sunlight, as it can cause the stain to dry too quickly, leading to uneven absorption. Always check the weather forecast before starting your project
5. Should I hire a professional for deck staining?
Hiring a professional ensures you avoid costly deck stain mistakes and achieve long-lasting results. Professionals have the expertise to prepare the deck properly, choose the right stain, and apply it evenly. If you’re unsure how to stain a deck or don’t have the time, professional services can save you effort while delivering a flawless finish.